How to make Ghee | Homemade Ghee (VIDEO)

Samba Rava Upma | Mixed Vegetable Wheat Suji Upma (VIDEO)
March 15, 2021
Selavu Rasam | Rasam for Cold & Cough Remedy (VIDEO)
March 24, 2021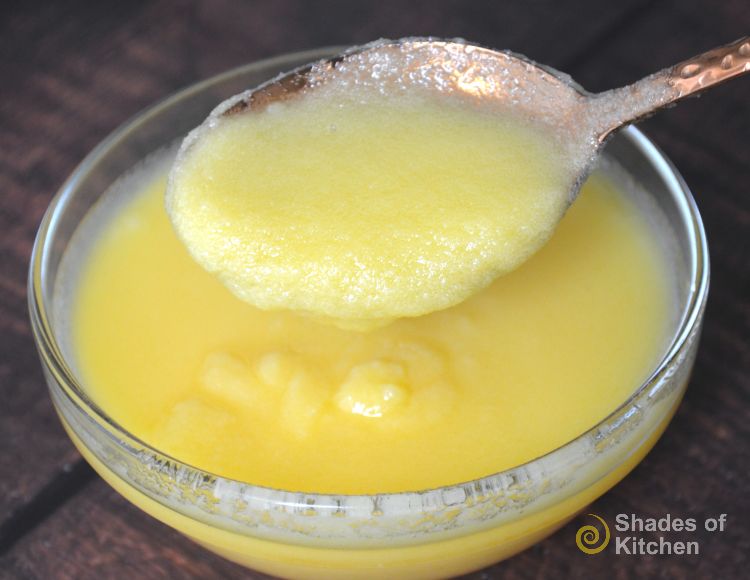
Making our own ghee is much easier than we think. I used to buy ghee before but for the past few years, I got into making my own ghee. The Indian ghee that is available here in the UK is very expensive so I decided to make my own ghee. Ghee is nothing but clarified butter. Ghee is healthy compared to butter because we remove all the milk solids from the butter.
There are so many great uses for ghee. You can use it in place of almost any cooking oil, and it will add that beautiful flavour to the dish. We use a lot of ghee in our Indian cooking. I mix ghee in my kid’s food like sambar rice, dal, ghee dosa, idly, roti, etc almost all the food. I love the smell of ghee in my food. This is a very important ingredient in a few biryanis and ghee adds an extra flavour to the biryani. I always make 450 ml ghee and it lasts for 3 to 4 weeks so I usually make ghee once a month.
Ghee is also a good natural lip balm. I love to apply ghee on my lips for a quick remedy for chapped lips. I do the same thing for my kids as well.
Disclaimer: If you have an allergy or dairy sensitivity, please consult with your doctor before consuming ghee or any dairy product!
Now, let’s dive in and make some ghee!
Here is the step by step process to make Ghee:
Take a pan, add 500 gms of unsalted butter.
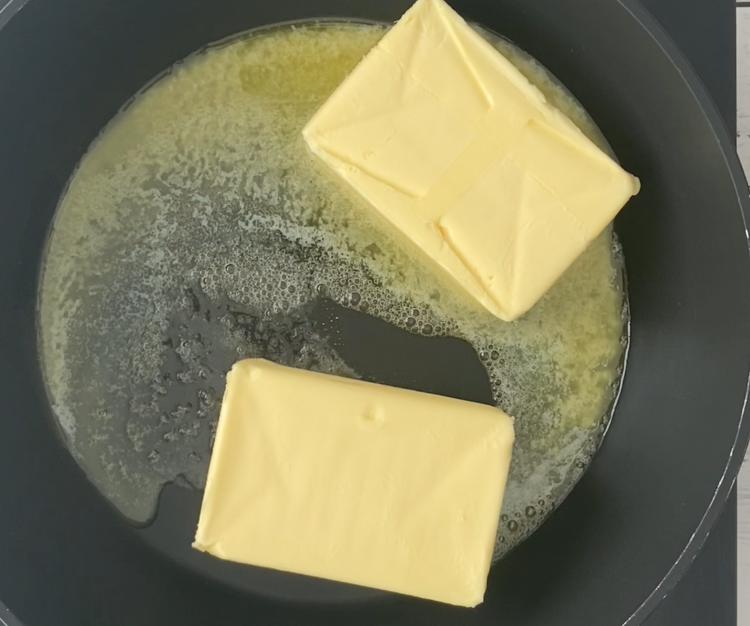
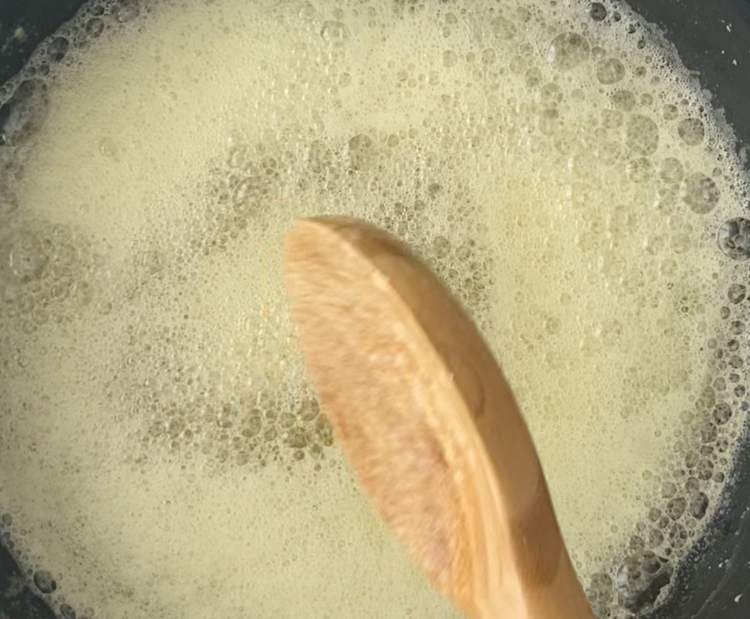
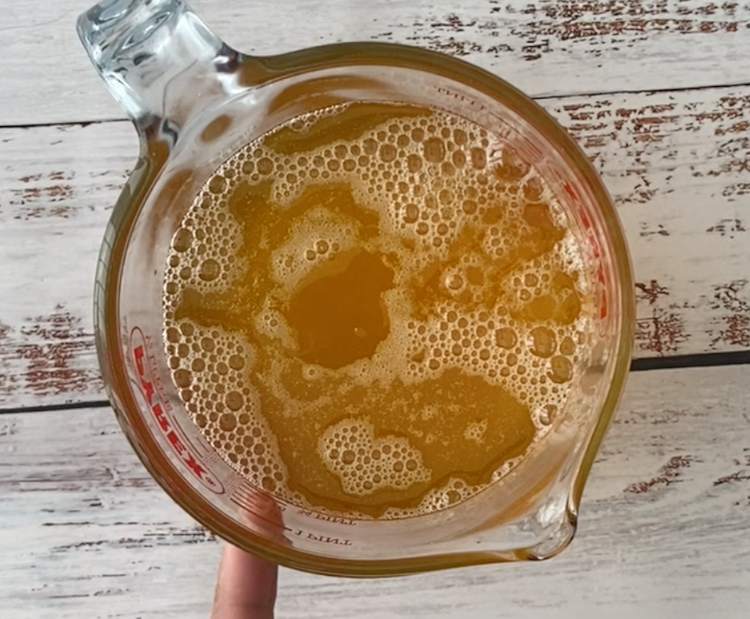
Turn heat to medium and allow butter to melt.
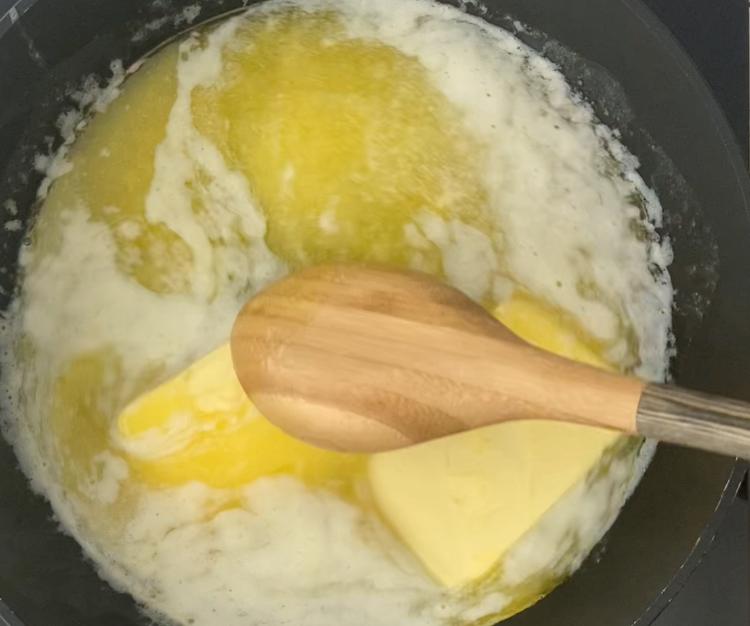
Once the butter is melted
After 7 to 8 minutes, the bubbling will also occur with the foaming.
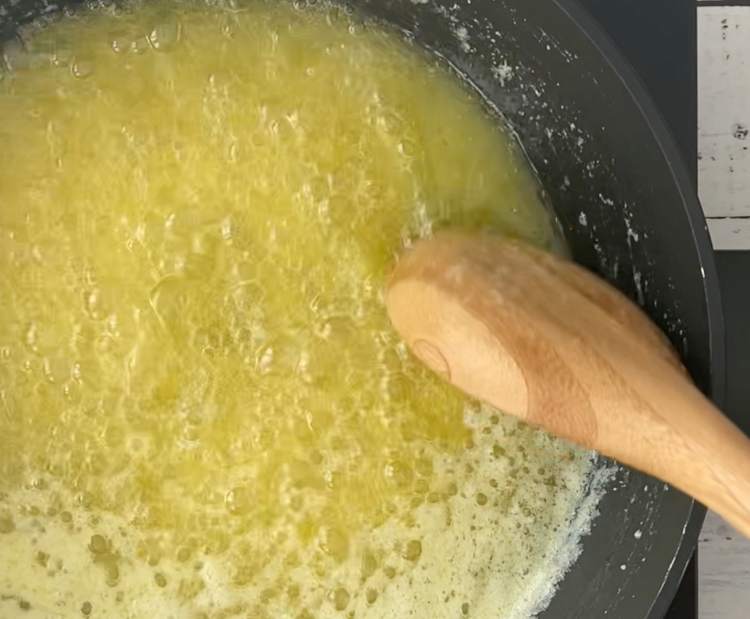
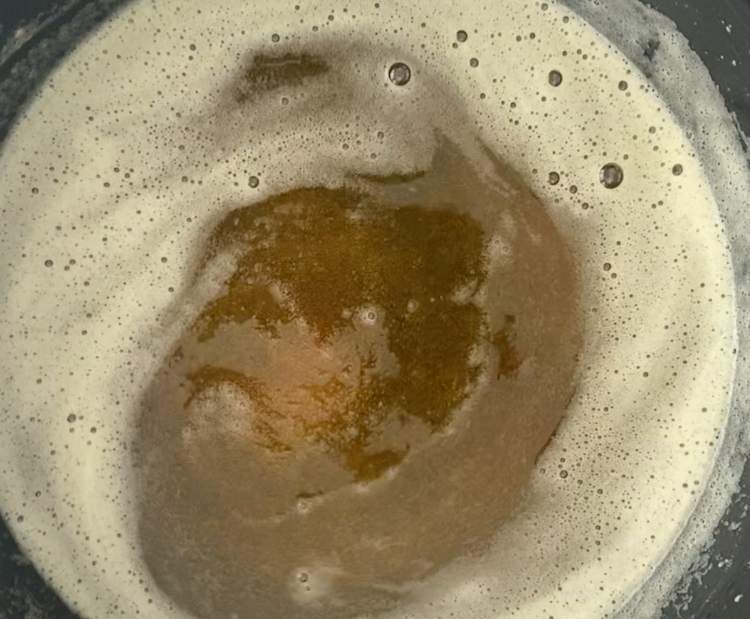
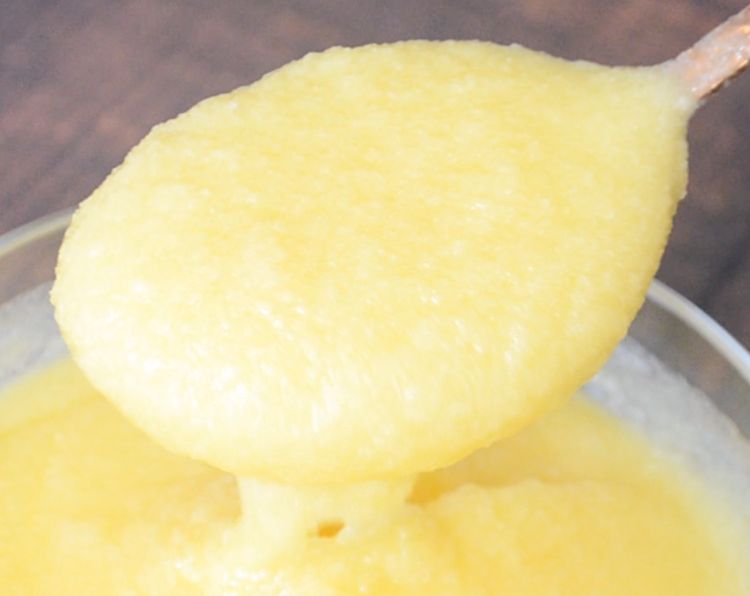
Once bubbling settles, the ghee will be clear. Now add a pinch of salt in the ghee and switch off the flame.
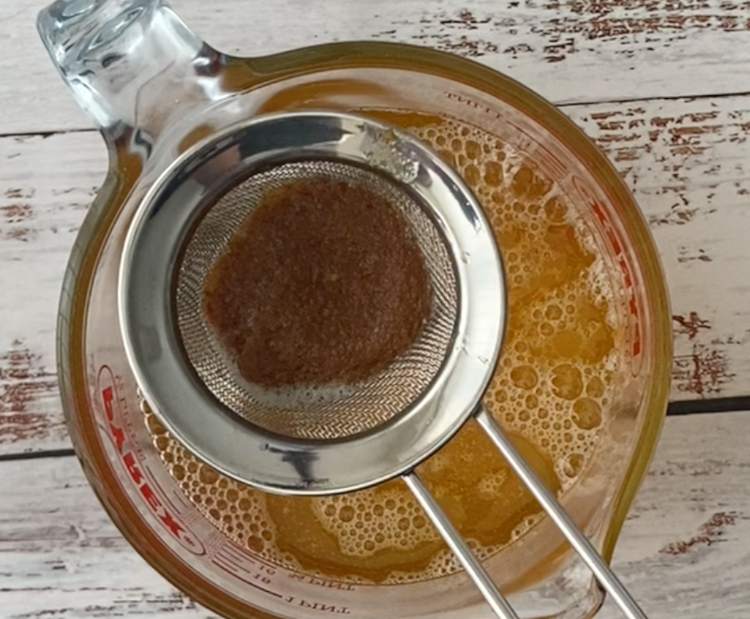
Then allow the ghee to rest for 5 to 7 minutes. Now take a fine-mesh strainer over a heatproof bowl
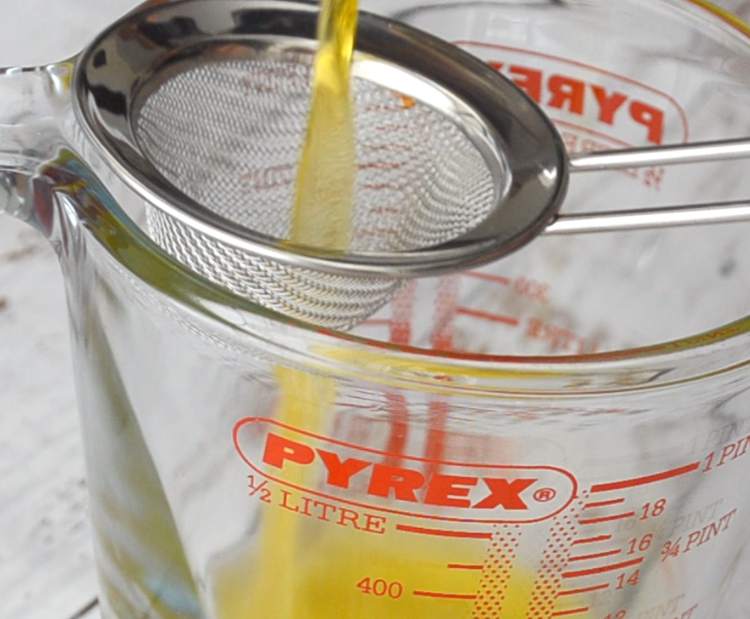
or a cup and strain the ghee to remove the browned milk solids.
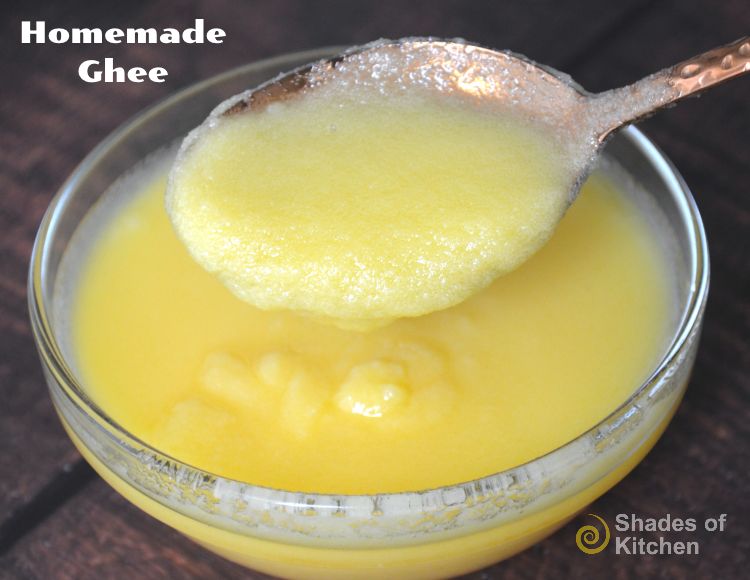
Transfer the ghee to a clear glass jar with a lid or a stainless steel jar.
Ghee can be stored in an airtight container at room temperature for up to 3 months, or 1 year in the refrigerator.
Ghee is ready to use.
Disclaimer: If you have a severe dairy sensitivity or allergy, make sure to consult with your doctor before consuming ghee or any dairy product!

How to make ghee from butter for cooking. A step-by-step guide for the butter clarification process for producing rich clarified butter or ghee.
Ingredients
- Unsalted Butter - 500 gms
- Salt - a pinch
- Skillet/Pan
- Wooden Spatula
- Mesh Strainer
Method
- Take a pan, add 500 gms of unsalted butter.
- Turn heat to medium and allow butter to melt.
- After 7 to 8 minutes, the bubbling will also occur with the foaming.
- Once bubbling settles, the ghee will be clear.
- Now add a pinch of salt in the ghee and switch off the flame.
- Then allow the ghee to rest for 5 to 7 minutes.
- Now take a fine-mesh strainer over a heatproof bowl or a cup and strain the ghee to remove the browned milk solids.
- Transfer the ghee to a clear glass jar with a lid or a stainless steel jar.
- Ghee can be stored in an airtight container at room temperature for up to 3 months, or 1 year in the refrigerator.
Notes
1. Use only unsalted butter.
2. You can add a pinch of salt or splash little water for the grainy texture.
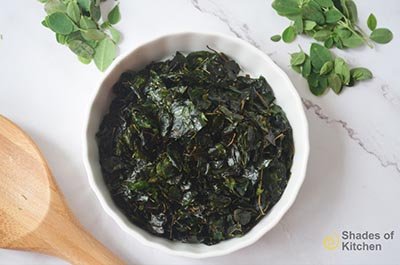
3. We can also add 1 sprig of moringa leaves/curry leaves for a good flavour in the ghee.
4. Store prepared ghee in a glass container or a steel container.

Serve with Love


